Aliases allow you to use Oracle HTTP Server to access files stored on the server. These steps below can be run for configuring aliases in OHS 12c:
1. Log into EM using your WebLogic username and password.
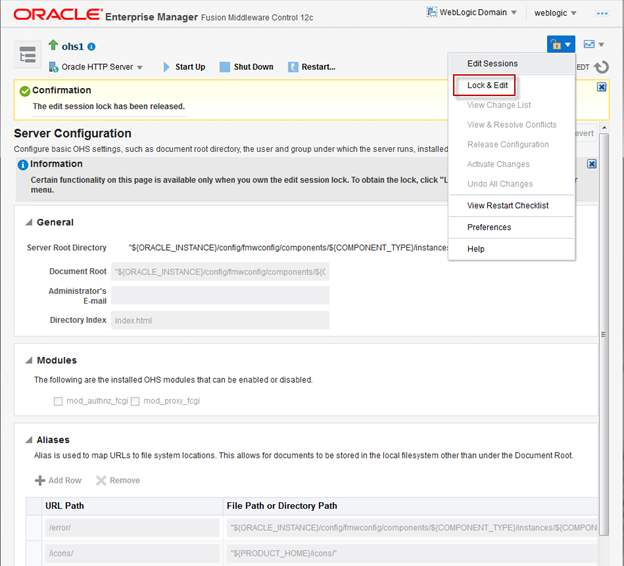
2. Once logged into EM, expand the Target Navigation pane in the top-left corner. Expand HTTP Server and right-click on ohs1. Go to Administration → Server Configuration

3. Click the lock button in the top-right corner and select “Lock & Edit”.
4. Under Aliases, click “+ Add Row” to create a new alias.
5. In the newly-created row, enter the URL path (the alias itself) and the file path of the alias. For the file path, make sure to surround it with double quotes and to use ‘/’ instead of ‘\’ even for Windows environments.
6. Repeat steps 4 and 5 for any additional aliases you may need to create. Once you are done creating the alias(es) you need, click “Apply”.

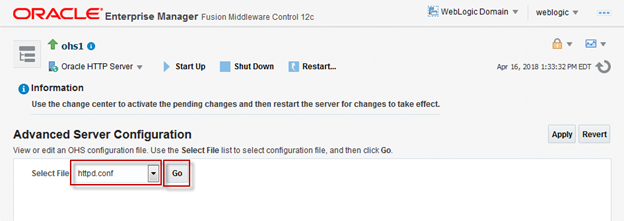
7. Expand the Oracle HTTP Server drop-down menu and go to Administration → Advanced Configuration.

8. Select “httpd.conf” and click “Go”.
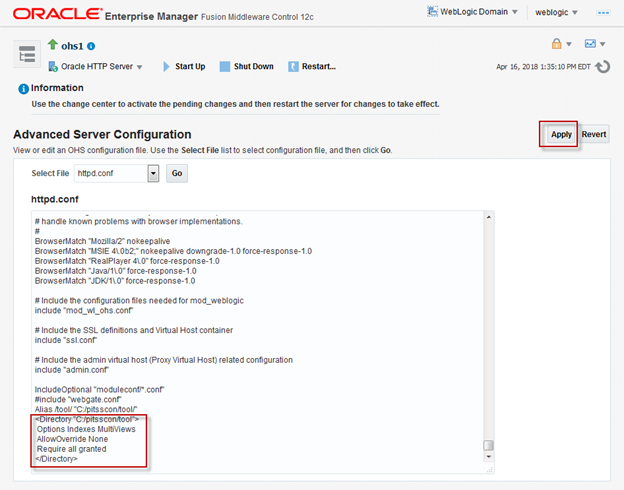
9. Scroll down to the very bottom. You will see the alias there.
10. In the line underneath it, add the following lines:
- <Directory “<ALIAS_FILE_PATH>”>
- Options Indexes MultiViews
- AllowOverride None
- Require all granted
- </Directory>
NOTE: The directory should use ‘/’ instead of ‘\’ and be surrounded by double quotes.
11. Click “Apply”.
12. Go to the lock button and click “Activate Changes”.

13. Restart OHS.
14. Once OHS has been restarted, test the alias in the URL to make sure your files are accessible.
Source: Oracle Support Doc ID 2124492.1